
These are my no-bake Buckeye Bars with a thick, fudgy peanut butter base and a glossy layer of semi-sweet chocolate on top. Perfect for holiday trays, bake sales, potlucks, and peanut-butter lovers, they’re rich, sweet, and taste just like a buckeye candy in easy bar form.
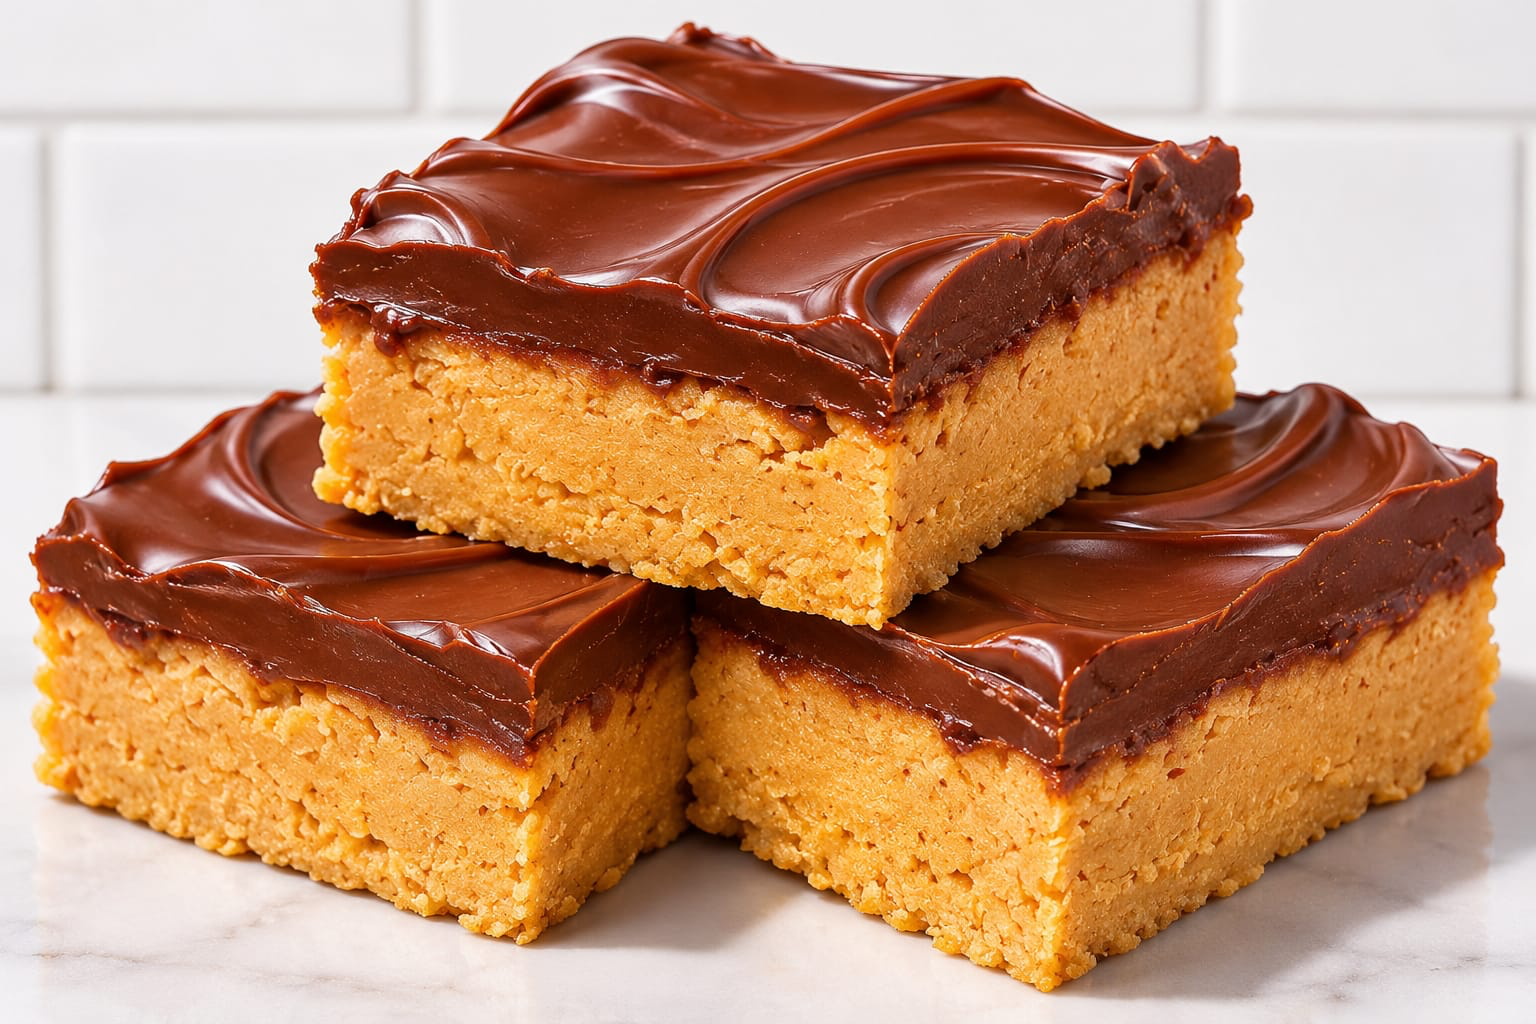
If you love the classic Ohio buckeye — that ball of sweet peanut butter dipped in chocolate — these bars give you the exact same flavour with a fraction of the work. No rolling, no dipping, no baking. The base is just salted butter, creamy peanut butter, powdered sugar, and vanilla pressed into a pan, and the topping is semi-sweet chocolate chips melted with a spoonful of vegetable oil so it spreads like silk and slices without cracking. Twenty minutes of work, a chill in the fridge, and you have a whole tray of them.
Jump to:
- Why you’ll love this recipe
- Ingredients and Substitutions
- Step by step instructions with photos
- What to do with leftovers
- FAQs
- Here’s where most go wrong
- Buckeye Bars (recipe card)
Why you’ll love this recipe
No baking, no dipping – buckeye candies are delicious but fiddly: rolling dozens of balls, chilling them, then dipping each one. These bars skip all of it. Mix, press, pour, chill, slice — same flavour, one pan.
Six simple ingredients – butter, peanut butter, powdered sugar, vanilla, chocolate chips, and a spoonful of oil. Nothing fancy, nothing hard to find, and you probably have most of it already.
That perfect buckeye bite – the base is dense, sweet, and fudgy like the centre of a peanut butter cup, and the chocolate layer is just thick enough to snap softly against it. A pinch of salt from the salted butter keeps the sweetness in check.
Ingredients and Substitutions
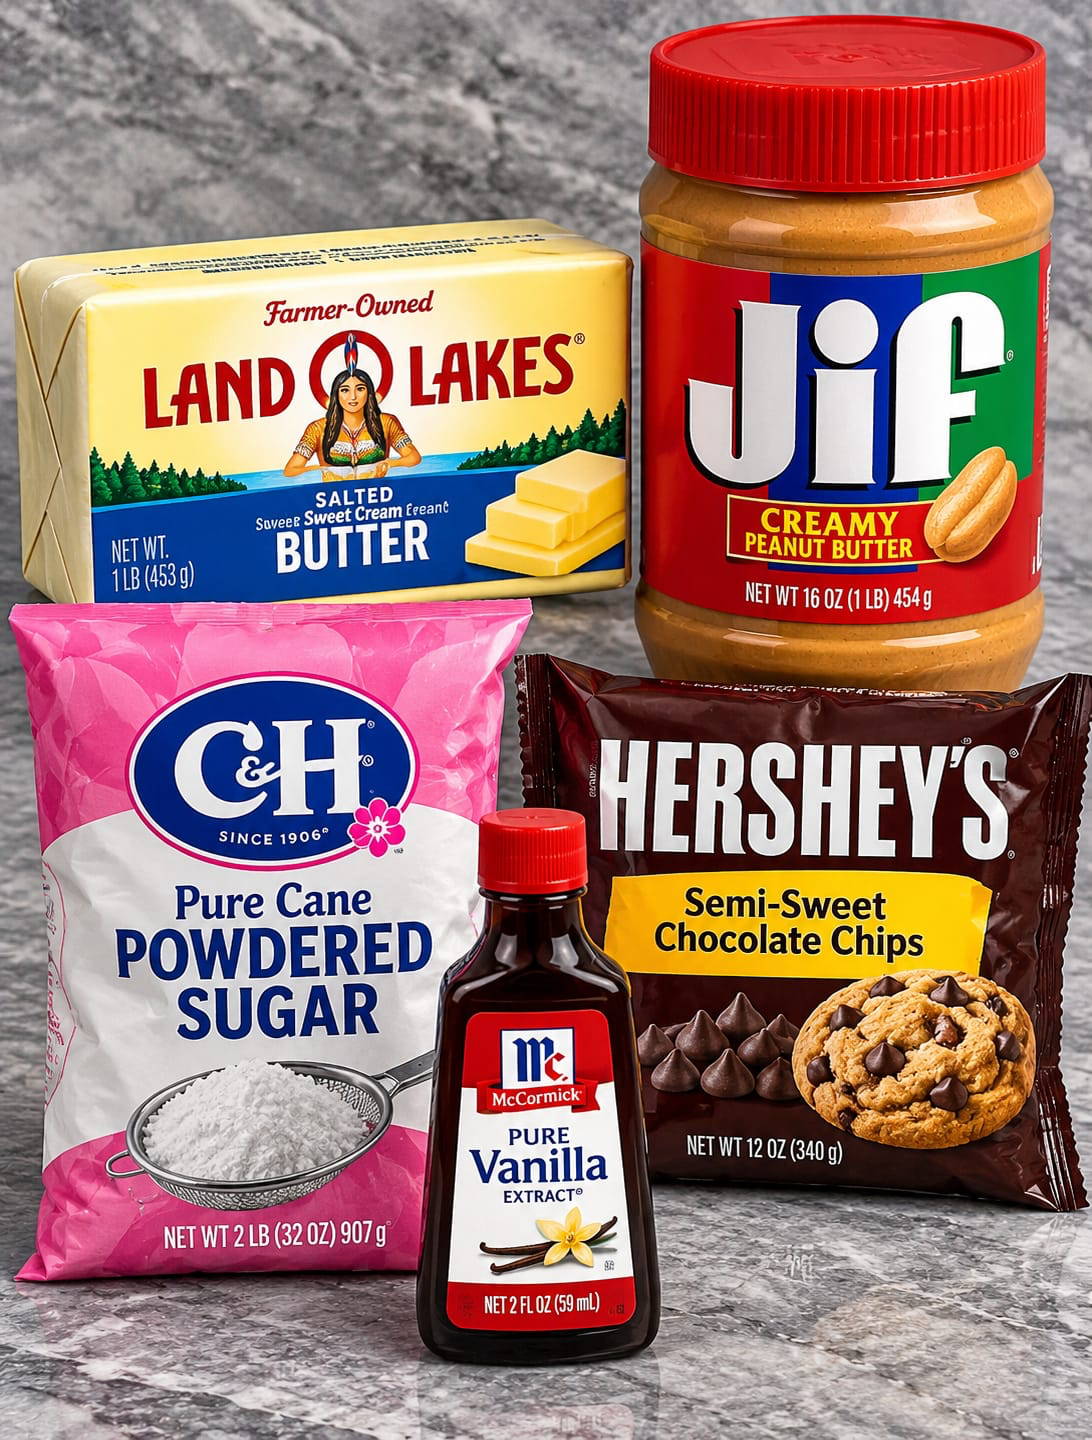
Salted sweet cream butter: 1 cup (226 g), melted. Salted butter is doing quiet work here — the salt balances all that sugar and makes the peanut butter taste more peanut-buttery. If you only have unsalted butter, use it and add 1/4 teaspoon of fine salt to the base.
Creamy peanut butter: 2 cups (500 g) — a regular commercial creamy peanut butter like Jif, as in the photo. This style sets up firm and slices cleanly. Natural peanut butter (the kind that separates) is too oily for these bars and the base may never set properly, so save it for toast.
Powdered sugar: 4 cups (480 g). This is both the sweetener and the structure — it’s what turns the peanut butter mixture into a firm, sliceable dough. Sift it if it’s lumpy so the base is smooth. There’s no good granulated-sugar swap here; the fine powder is essential to the texture.
Pure vanilla extract: 2 tsp (10 ml). It rounds out the peanut butter and makes the base taste like candy shop filling rather than a sandwich. Imitation vanilla works in a pinch.
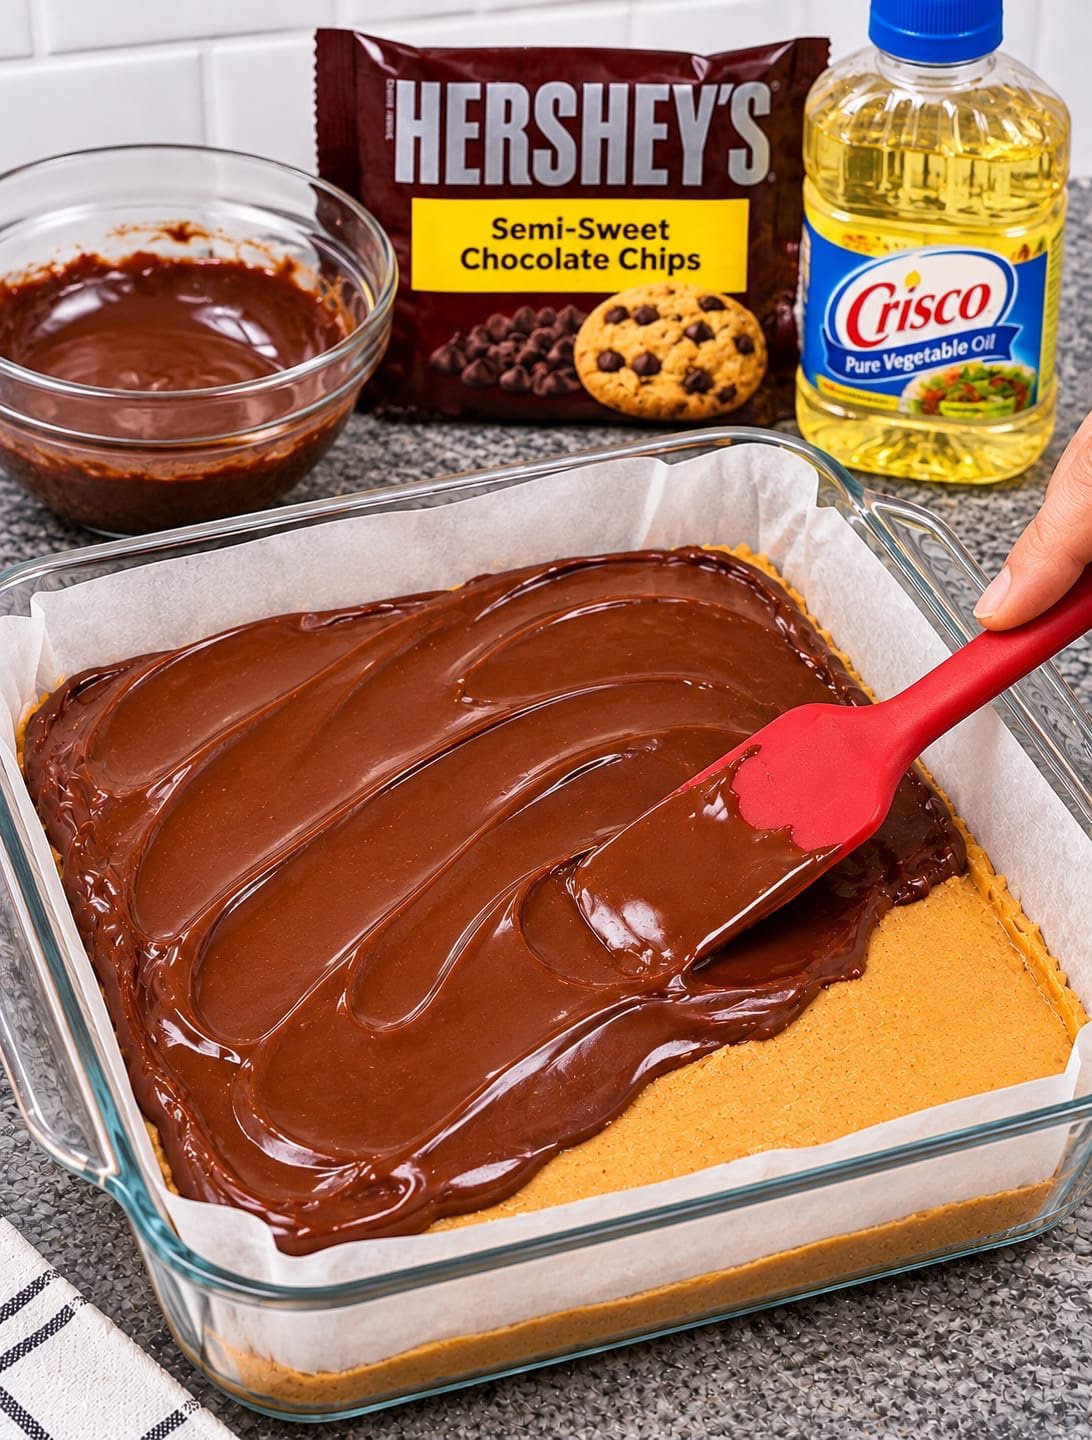
Semi-sweet chocolate chips: 2 cups (340 g) — a 12 oz bag, like the Hershey’s in the photo. Semi-sweet is the classic buckeye pairing: dark enough to balance the sweet base, not so dark it turns bitter. Milk chocolate makes a sweeter, softer top; dark chocolate (60%) makes a firmer, more grown-up one.
Vegetable oil: 1 tbsp (15 ml). This tiny amount is the secret to a glossy topping that spreads easily and cuts without shattering. Coconut oil works the same way. Don’t be tempted to add more — too much oil and the chocolate never fully sets.
For the full ingredients list with measurements and instructions, scroll down this blog to the recipe card.
Step by step instructions with photos
Step 1: Melt the butter and mix the base. Melt the butter in the microwave or a small pan and pour it into a large mixing bowl. Add the peanut butter and vanilla extract and whisk (or stir with a sturdy spoon) until completely smooth and glossy, with no streaks of butter left.

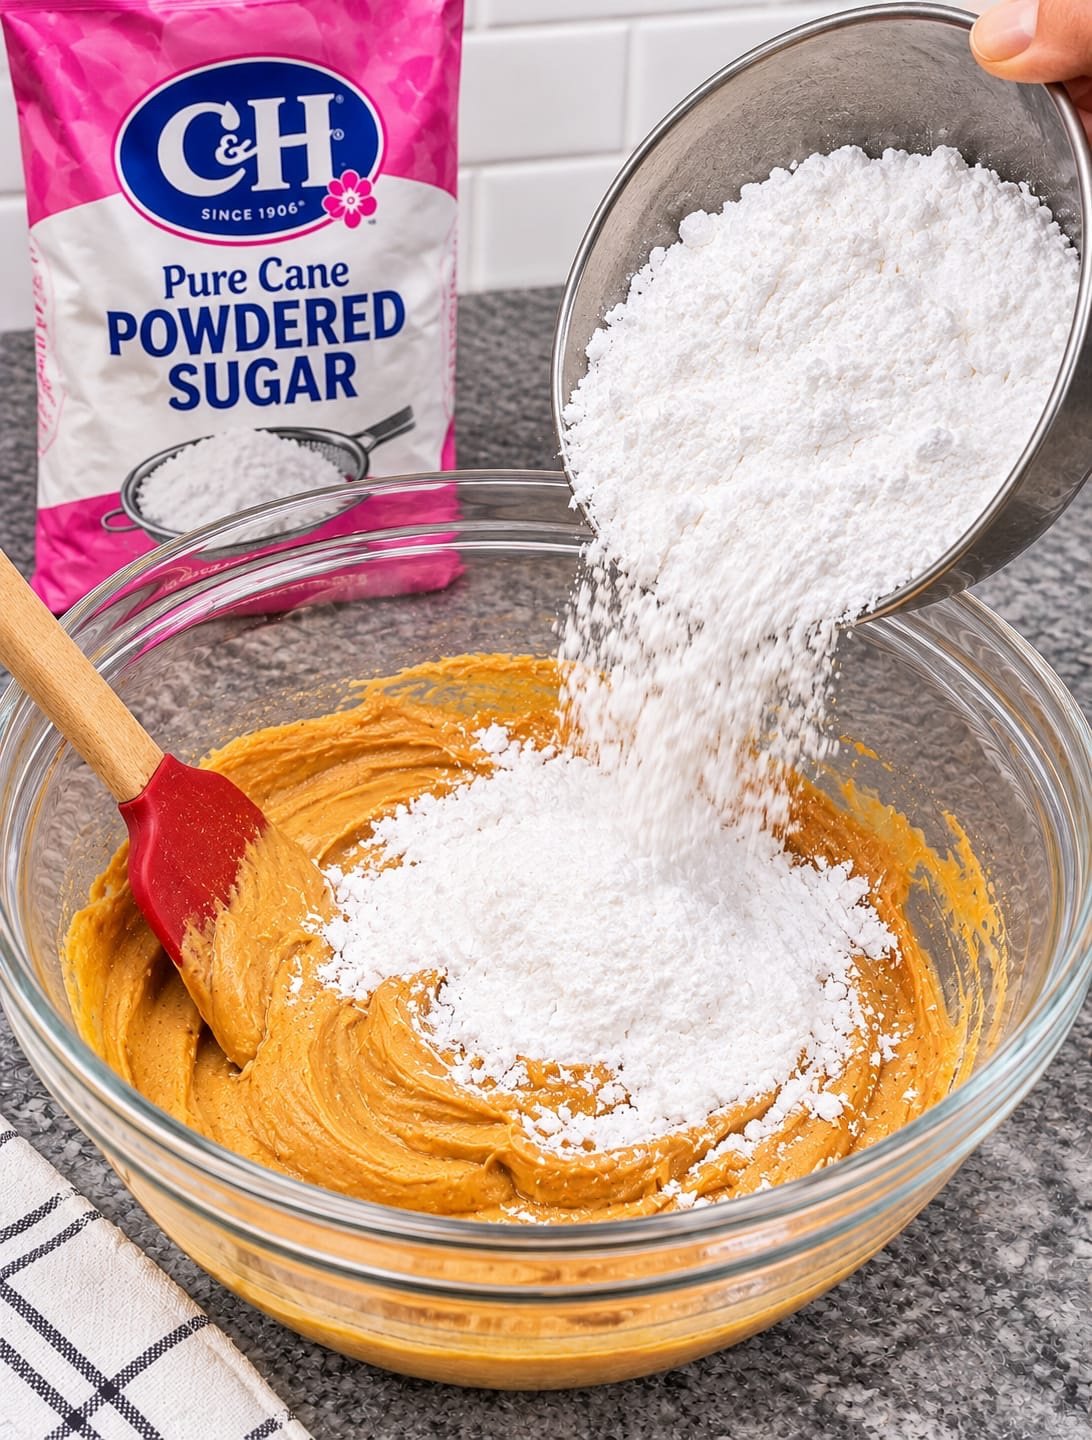
Step 2: Add the powdered sugar. Tip in the powdered sugar and stir — switch to a spatula or your hands towards the end — until it forms a thick, stiff dough that holds together when pressed and no dry sugar remains. It should feel like soft fudge, not a batter.
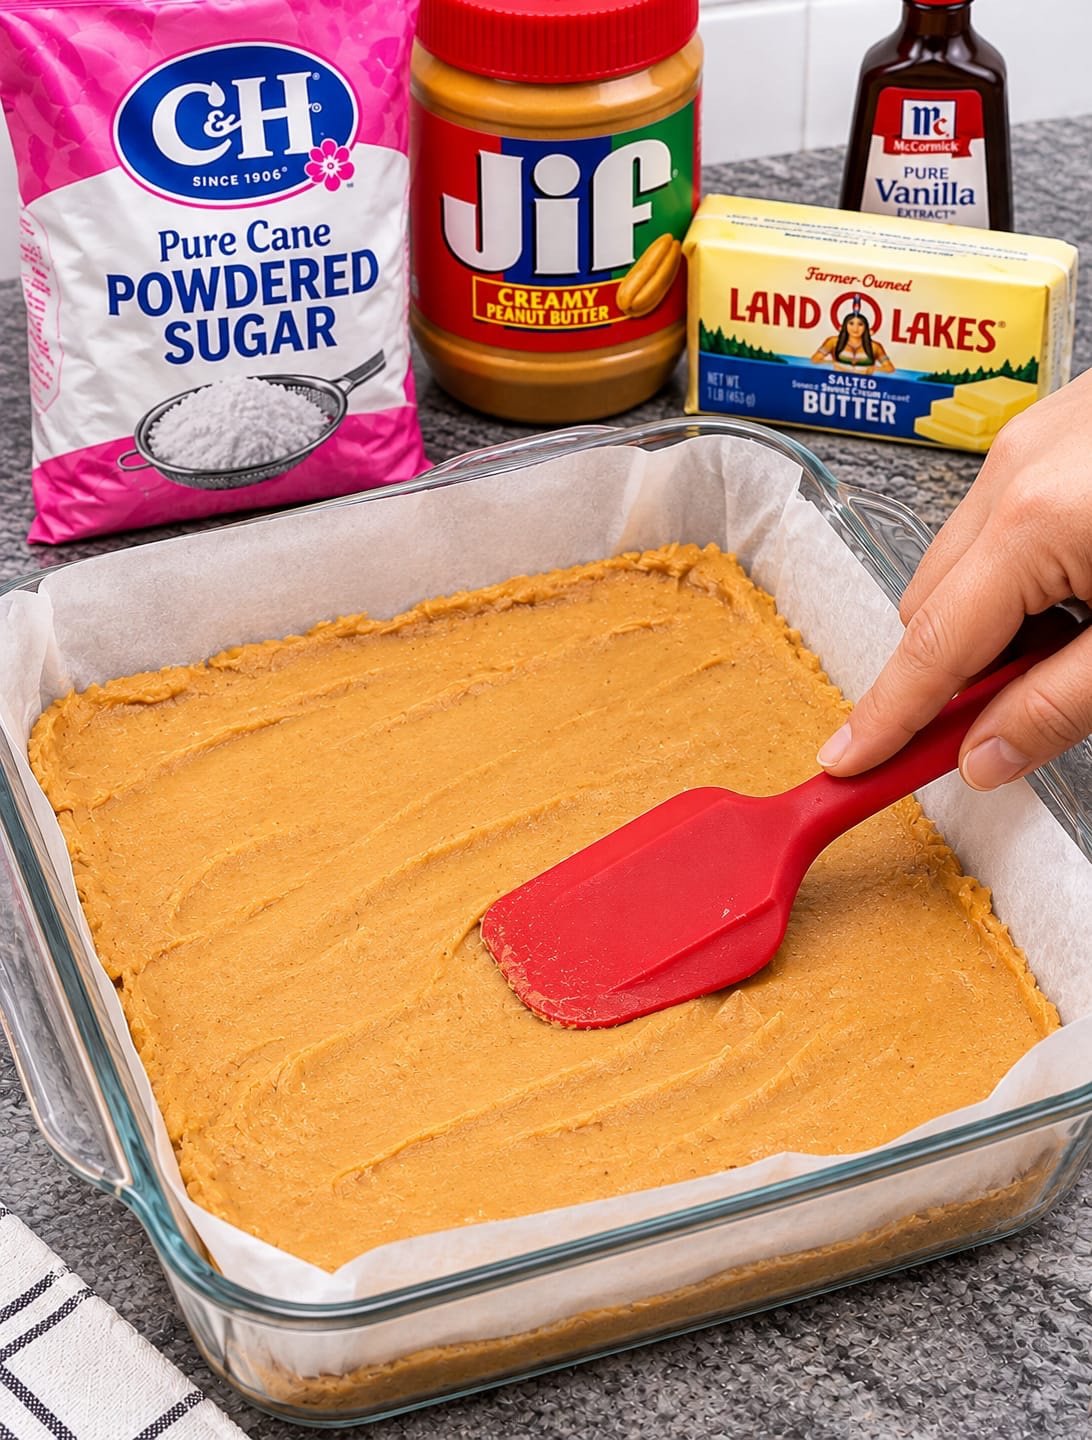
Step 3: Press into the pan. Line a 9×9-inch (23 cm) square pan with parchment paper, leaving an overhang on two sides like a sling. Tip the peanut butter dough in and press it down firmly and evenly with a spatula, the back of a spoon, or the base of a glass — pack it into the corners and level the top.
Step 4: Melt the chocolate and spread it over the base. Put the chocolate chips and vegetable oil in a microwave-safe bowl and heat in 30-second bursts, stirring well between each, until completely melted and smooth (or melt gently in a heatproof bowl over simmering water). Pour it over the peanut butter base and spread it into an even layer right to the edges with a spatula, making gentle swirls on top if you like.
Step 5: Chill, slice, and serve. Refrigerate for at least 2 hours, until the chocolate is fully set and the base is firm. Use the parchment sling to lift the slab out onto a cutting board. For the cleanest cuts, slice with a large sharp knife, wiping it clean and running it under hot water between cuts. Cut into 16 bars and serve chilled or at cool room temperature.
What to do with leftovers
Storage: keep the bars in an airtight container, with parchment between layers. They keep at cool room temperature for up to 3 days, in the fridge for up to 2 weeks (the texture stays fudgy and firm), and they freeze beautifully for up to 3 months — thaw in the fridge or at room temperature for 20 minutes before serving.
Serving leftovers: chopped-up leftover buckeye bars are outrageously good folded into vanilla ice cream, crumbled over a chocolate sundae, or blitzed into a milkshake. Just saying.
FAQs
Why didn’t my peanut butter base set?
Two usual causes: natural peanut butter (too much oil), or not enough powdered sugar worked in. The dough should be stiff and hold its shape before it goes in the pan. If it’s soft, stir in extra powdered sugar a few tablespoons at a time until it firms up.
Can I use a 9×13 pan instead?
Yes — the bars will be thinner and the recipe will stretch to about 24 smaller bars. The chill time stays the same. For thick, candy-shop bars like the photos, the 9×9 pan is best.
My chocolate cracked when I sliced it. What happened?
The chocolate was too cold and too hard. Let the slab sit at room temperature for 10-15 minutes before slicing, use a hot, dry knife (run it under hot water and wipe it), and press straight down rather than sawing. The spoonful of oil in the topping also helps — don’t skip it.
Can I make these with crunchy peanut butter?
You can — the base will have little peanut pieces through it, more like a crunchy buckeye. Keep everything else the same. The pressing step just needs a bit more patience to get the top level.
Here’s where most go wrong
- Using natural peanut butter. The separated oil in natural peanut butter stops the base setting and makes the bars greasy. Use a regular commercial creamy peanut butter for bars that slice cleanly.
- Not packing the base firmly enough. A loosely pressed base crumbles when you slice it. Really pack it down, especially into the corners, with the base of a glass if needed.
- Overheating the chocolate. Chocolate scorched in the microwave turns grainy and dull. Short 30-second bursts and plenty of stirring — the last chips will melt from the bowl’s residual heat.
- Adding extra oil to the chocolate. One tablespoon makes it glossy and sliceable; more makes a topping that stays soft and smears instead of setting. Measure it, don’t eyeball it.
- Skipping the parchment sling. Without the overhang, the first bar comes out in pieces and the rest follow. Two strips of parchment, thirty seconds — worth it every time.
- Slicing straight from the fridge with a cold knife. That’s how the chocolate layer shatters. Ten minutes on the counter and a hot knife give you bakery-clean edges.
If you tried this Buckeye Bars recipe, please leave a star rating and let me know how it went in the comments below. Thank you!
Buckeye Bars
These no-bake Buckeye Bars are a thick, fudgy peanut butter base made from butter, creamy peanut butter, powdered sugar and vanilla, topped with a glossy layer of melted semi-sweet chocolate — all the flavour of classic buckeye candies, in easy sliceable bars.
Prep Time: 20 minutes
Chill Time: 2 hours
Total Time: 2 hours 20 minutes
Course: Dessert
Cuisine: American
Servings: 16 bars
Calories: 515 kcal (estimated)
Ingredients
- 1 cup (226 g) salted sweet cream butter, melted
- 2 cups (500 g) creamy peanut butter (regular commercial style, not natural)
- 4 cups (480 g) powdered sugar, sifted if lumpy
- 2 tsp (10 ml) pure vanilla extract
- 2 cups (340 g) semi-sweet chocolate chips
- 1 tbsp (15 ml) vegetable oil
Instructions
- Melt and mix. Melt the butter and pour it into a large bowl. Add the peanut butter and vanilla and whisk until completely smooth and glossy.
- Add the sugar. Stir in the powdered sugar until it forms a thick, stiff dough with no dry sugar remaining.
- Press into the pan. Line a 9×9-inch (23 cm) square pan with parchment, leaving an overhang. Press the dough in firmly and evenly, levelling the top.
- Top with chocolate. Melt the chocolate chips with the vegetable oil in 30-second microwave bursts, stirring between each, until smooth. Pour over the base and spread evenly to the edges.
- Chill and slice. Refrigerate for at least 2 hours until fully set. Lift out using the parchment, rest 10 minutes at room temperature, then slice into 16 bars with a hot, clean knife.
Notes
Step-by-Step Photos: This blog post includes helpful step-by-step photos to help guide you through making this recipe, so scroll up to find that section.
Tips: Use regular creamy peanut butter (not natural), pack the base down firmly, and don’t add more than 1 tablespoon of oil to the chocolate.
Size options: For thinner bars, use a 9×13-inch pan and cut into 24 bars (about 345 kcal each, estimated).
Storage: Airtight container at cool room temperature for 3 days, in the fridge for up to 2 weeks, or frozen for up to 3 months.
Nutrition Information
Per bar (1/16 of recipe) — estimated: Calories: 515 kcal, Carbohydrates: 50 g, Protein: 9 g, Fat: 33 g, Saturated Fat: 14 g, Cholesterol: 30 mg, Sodium: 225 mg, Fiber: 3 g, Sugar: 44 g.
Nutrition is an estimate based on the ingredients listed and will vary with brands and substitutions.